Photo by Roman Synkevych 🇺🇦 on Unsplash
Push your first commit to Github
An introduction to version control using Git and Github
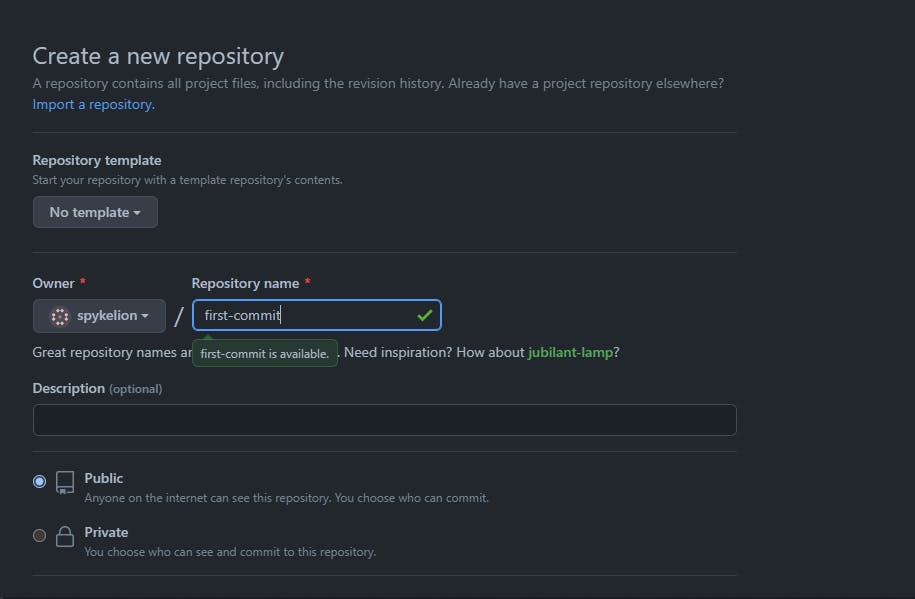
Creating a Github repository
 This tutorial assumes you have Git installed in your system. Download it from here
Sign in to Github
Create a repository called first-commit.

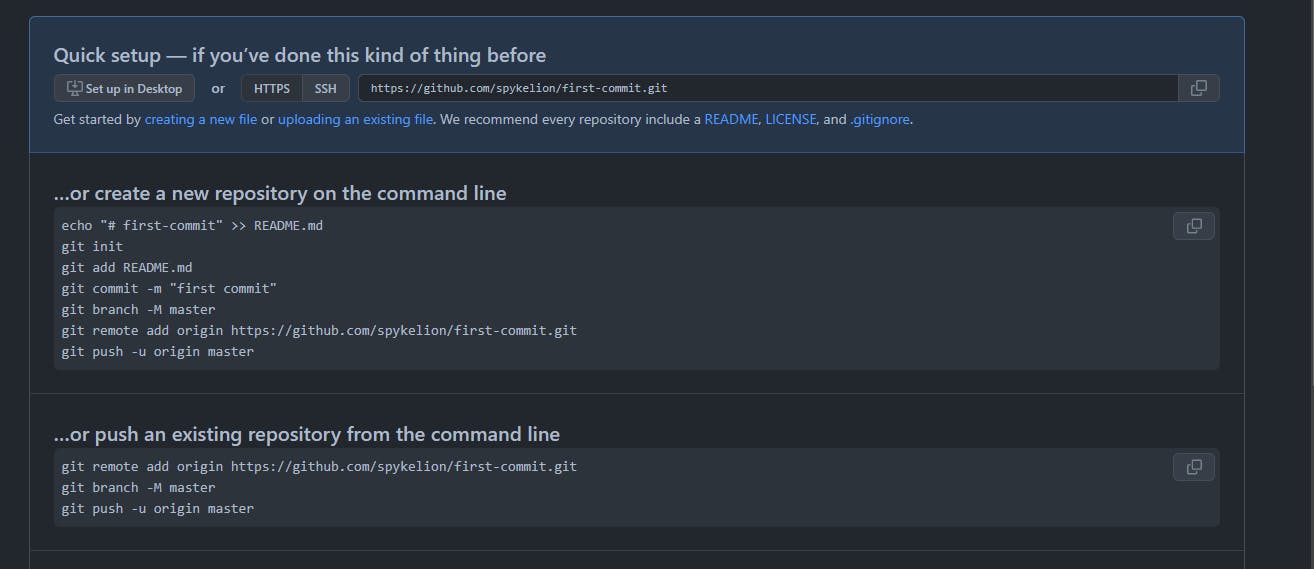
Your next screen be similar to:
Create a folder
On your desktop called first-commit.
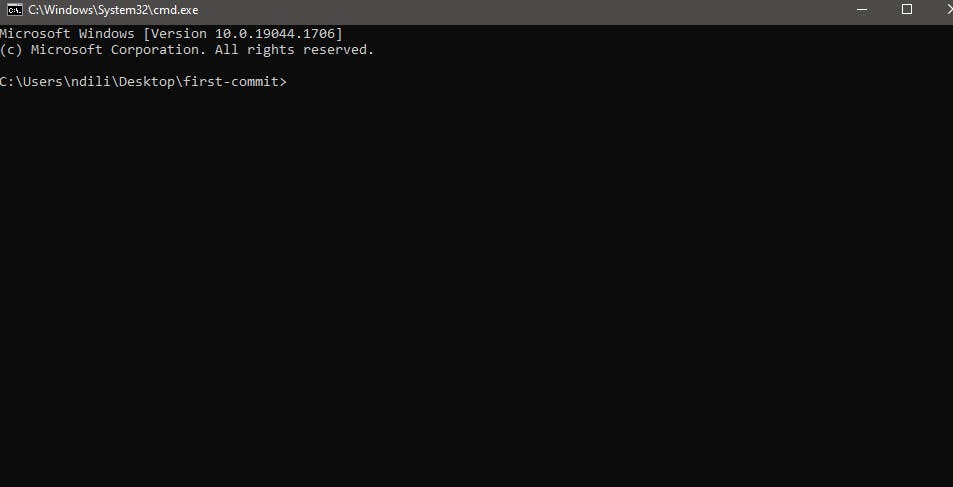
Open the folder in a terminal. You can use either right-click and select Git Bash or type cmd on the address bar and press enter. It opens the windows command prompt.
#. Initialize repository: Initialize an empty git repository using
git init
Add url:
Copy the repository URL from the address bar of your browser

Add remote origin:
git remote add origin <repo_url>
Replace with the URL you copied in the previous step.
 Note the
 .git we added at the end of the URL
Check to make sure the URL has been successfully added. Use the command below:
git config --get remote.origin.url
Your output should be similar to:

Create a file.
Create a simple text file in the first commit folder we created in the previous step.

Committing the file.
Switch to your terminal and check for changes using the command:
git status

Commit the file.
Stage the changes (the file created) using:
git add text.txtTo stage all change, use:
git add .Commit the changes using the command
git commit -m "my first commit"-mis the message flag and the value ismy first commit
Your output should be similar to:

Push the changes.
Upload the changes to your remote repository. Push the changes using the git command:
git push --set-upstream origin master
Here, master is my the branch am pushing to. You can check the branch you are working on using git branch
Your output should be similar to:

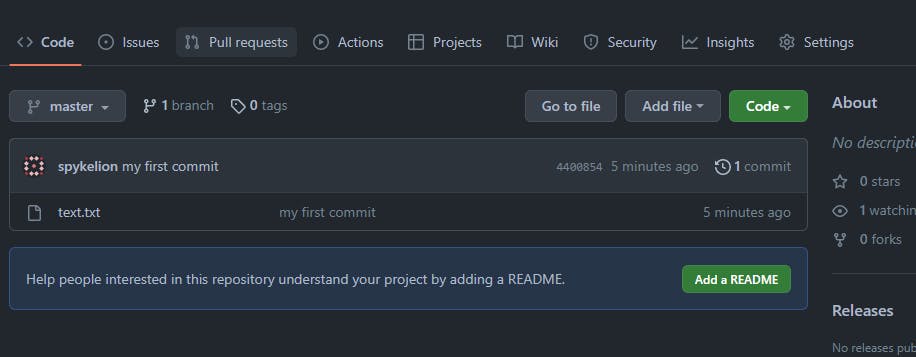
Refresh the page on your browser.

We have successfully pushed our first commit to Github.
Tell us what you think in the comment section.


